Tuesday, 29 January 2013

Machine Embroidery Technical Folder

The next technical folder I had to do was based on embroidery and was again, a 2 and a half week project. This included basic stitches along with more complicated stitches. Although most of the techniques were for decorative purposes some are also for function. As there were many techniques, I have included most of them but not all.
Here are some photos of some of my machine embroidery samples:

My folder is so full I cant even close it!

Playing around with basic stitches

Decorative stitches

Experimenting with the decorative stitches

Cross tucking

Cross stitched tucks that are undulating

Pin tucking

Pin tucking with the decorative stitches

Tailor tacking 

Cording and playing around with different stitch lengths and widths

Appliqué - common stitches used to sew material down

Appliqué - Cutting away from the middle

Applique - sewing material down using tailor tacking stitch and the pin tucking decorative stitches

Patchwork - irregular

Frayed layers - using a teasel brush to brush down the layers

Faux chenile - using a teasel brush to brush the slashed areas

Circles

Shirring elastic

Free hand machine embroidery

Creative sample

Creative sample

Creative sample


Print Technical Folder

For each specialism we have to create a technical folder, showing how to do the the various techniques and then examples of them. For this project, we had 2 and a half weeks to be taught various printing techniques and also how to prepare a screen. 
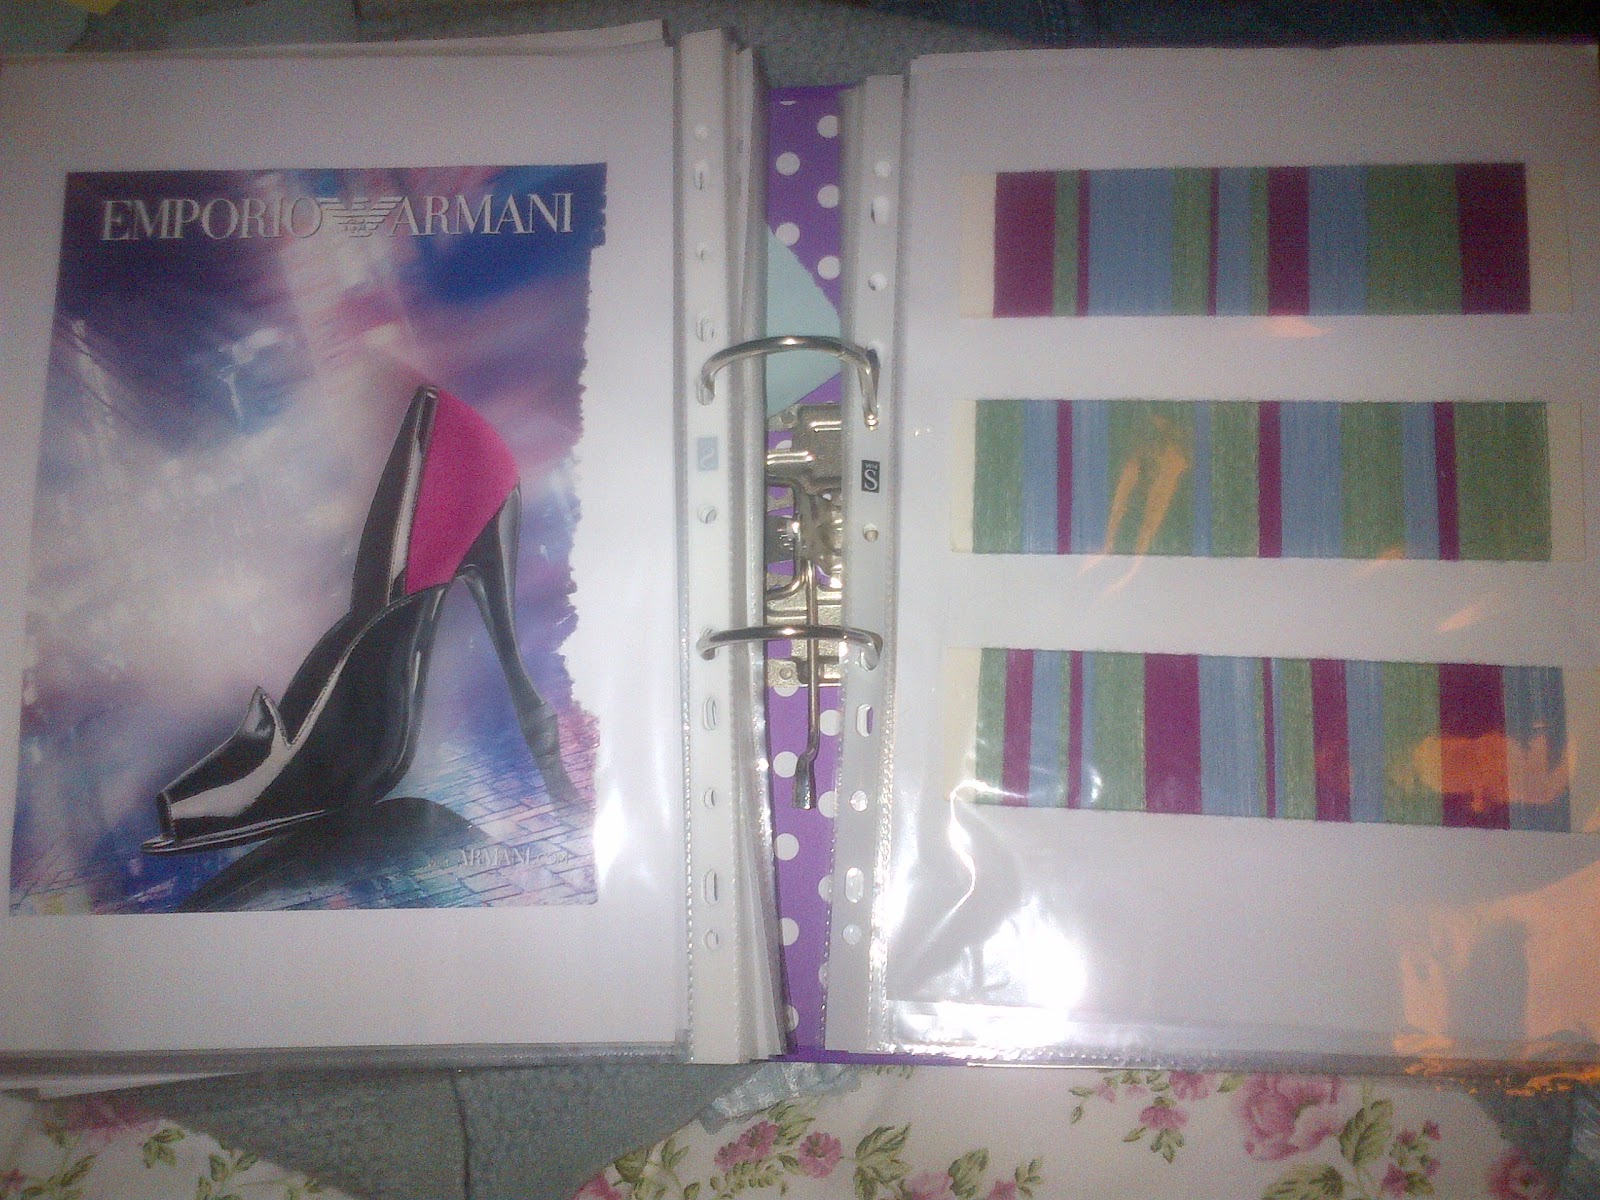
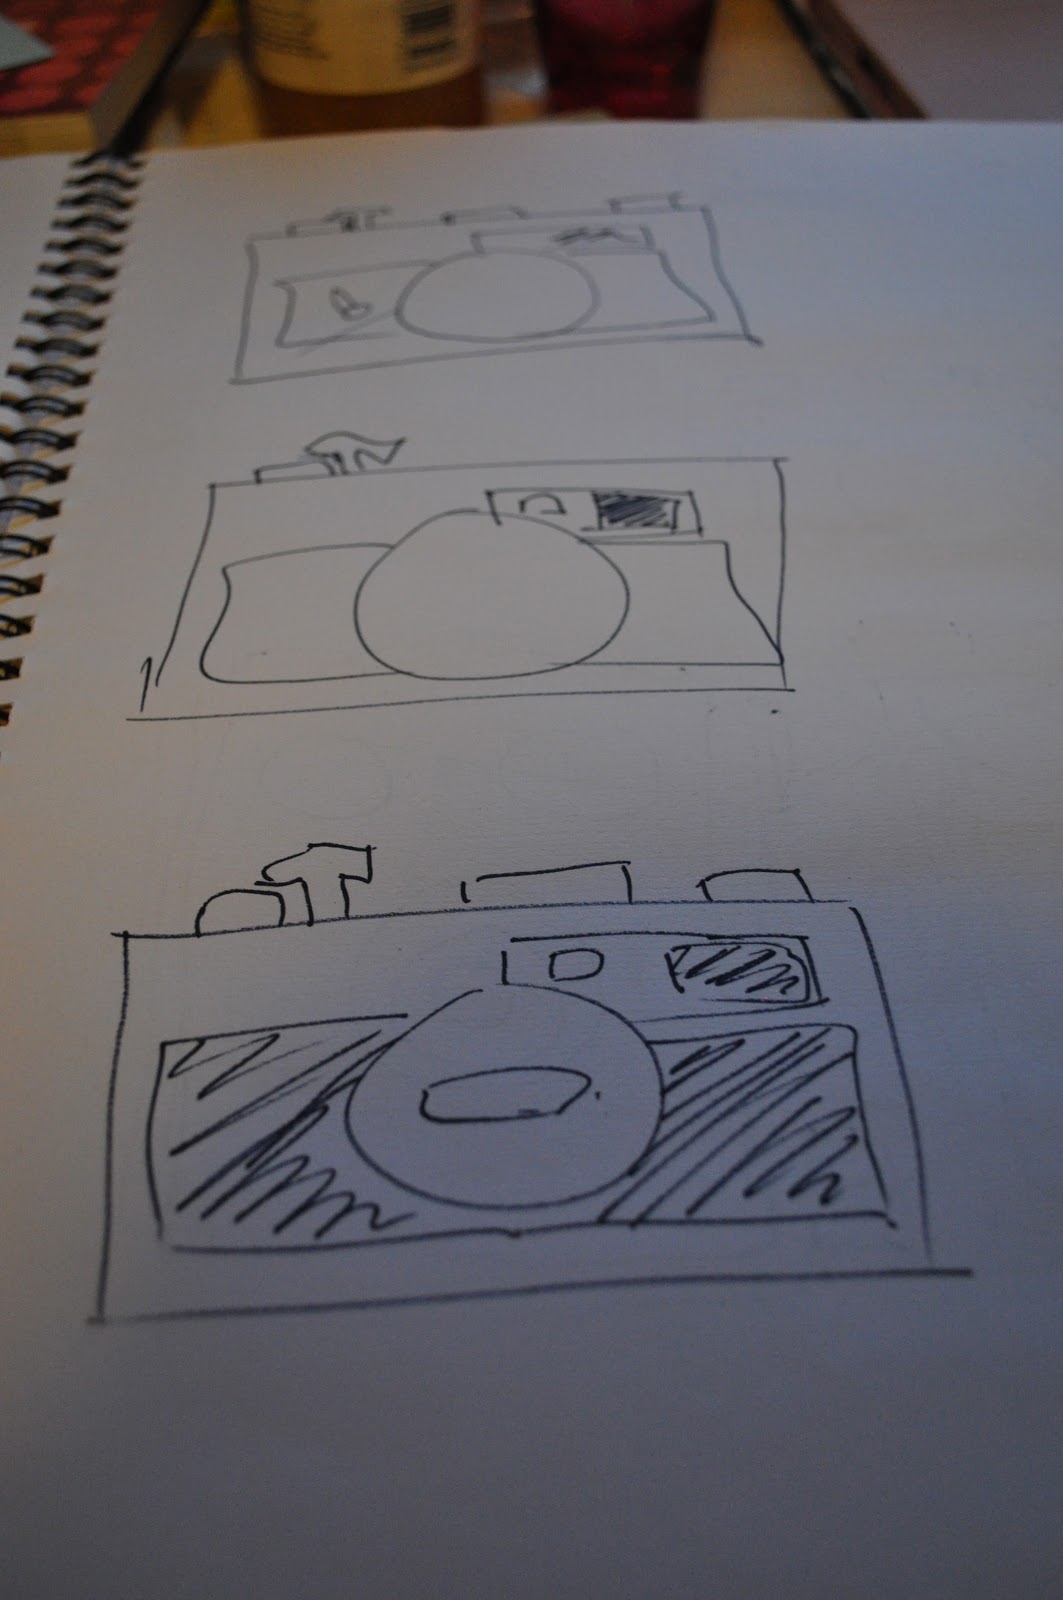
Here are some photos of my print folder which was based on the earlier camera project I did.

Heat press technique:

Trying out the different dysperse dye colours under the heat press

Making shades of colours

Overlapping colours

Using water to draw with first and then dropping dye onto it

Heat pressing images I drew with the dye onto material I dyed


Painting onto a screen:

Painting onto a screen with dysperse dye


Discharge Printing:


Screen printing with puff binder:

Printing puff onto my own dyed material


Printing puff onto a sample of carpet I found gave it an interesting feel to it. I also used pigment with one of the cameras

Overlapping the puff binder and using pigment with them 


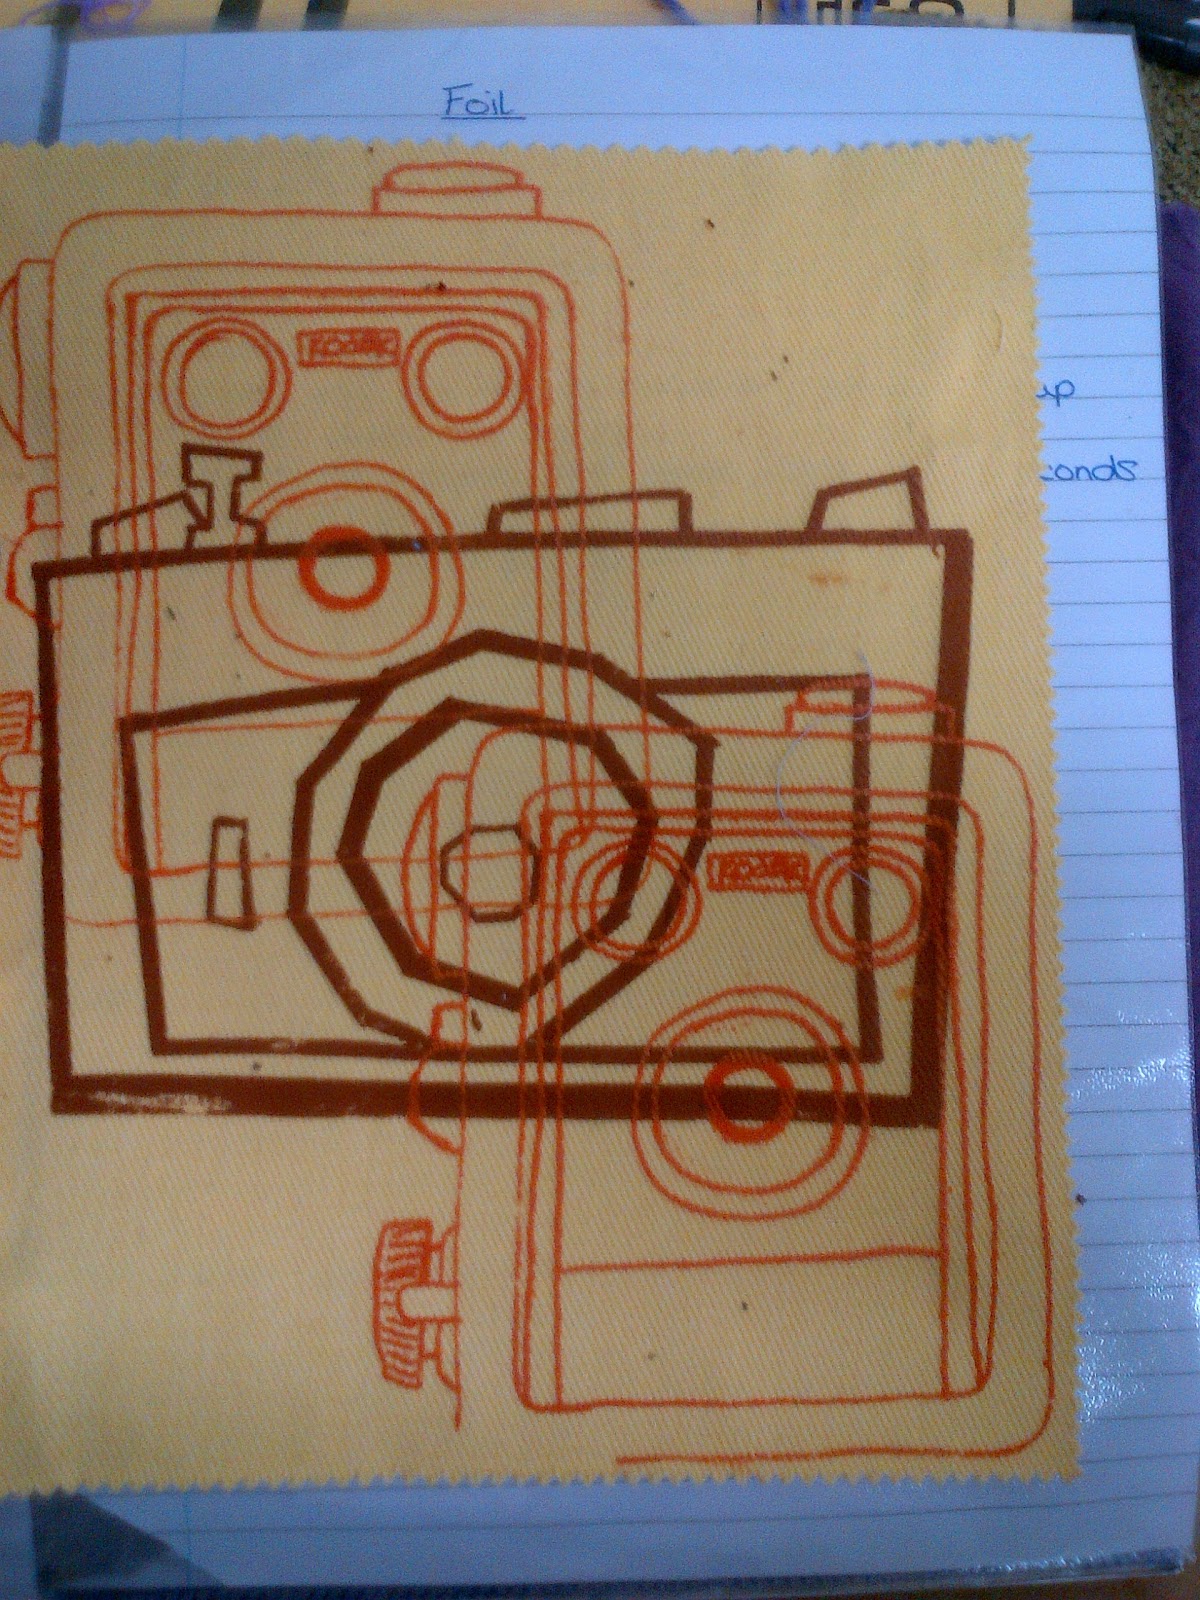
Screen printing with foil:

I used 'gun metal' coloured foil 

I used silver foil on top of some dip dyed material I did

Printing bronze coloured foil on top of a swatch of suede like material I had


Screen printing repeat patterns:

Navy on purple


Experimenting with screen printing:

Using coloured puff binder and normal coloured binder i printed these cameras in neon colurs on top of some black material I had
On thicker material this time I printed the same camera overlapping itself. The first and last camera, I used puff however they didn't seem to puff up as much as normal

Experimenting with bright colours with the normal and puff binder


Monday, 28 January 2013

Dye Folder

One of the very first things we were taught at uni was how to dye materials and yarn. This included pre-scouring, the different types of dyes and what works best for different types of materials, working out formulas on how to dye colours and the shades, the correct fixative to use for each dye, different methods to dye and a burn test. 
Here are some photos from my folder. 

Dyeing cottons with procion dye

Dyeing colour shades

Dyeing different colour shades

Dyeing 8 different types of materials with each type of dye to see which held onto the colour best. 

Burn test

Making colour windings to match the colours from a magazine advert


Sunday, 2 December 2012

A very belated blog post!! Vintage camera project

So, since starting university at the end of September I have literally been thrown in with a fast paced heavy workload based subject! Which is why I haven't blogged as soon as I would have liked to! Anyway my first project was based on vintage cameras and over the summer I had to collect these and respond to them. Here is some of my work from it.


Sketchbook:
We were given 10 seconds to draw and each time we had get quicker to include more detail. 

'Mood' drawings, I chose tired, calm and frustrated. Can you guess which is which?

Drawing using lines, no outlines were allowed! This was surprisingly difficult!

Left hand drawing.

Drawing without looking


Add caption


Using pastel as a background colour and the drawing with ink.

Again using pastel but this time using charcoal and chalk to draw the camera.
A1 drawings: