Tuesday 30 July 2013

Research for our Personal Projects

We were given just over a week to spend on researching for our personal project. We were given 6 titles and we had to create a pinterest board for each one. The titles were 1) Craft Skill, 2) Colour Palette, 3) Inspiration, 4) Who/What is it for?, 5) Display and then finally a concluding board including 2 pins from each of the previous boards, which will then be shown for a presentation.
Here are screenshots from each of my boards plus the links to see more of the pins on each of the boards:


Board 1 - Craft Skill

The craft skill I want to specialise in is print with a bit of embroidery along side.


http://pinterest.com/rhamiltonx/board-1-craft-skill/


Board 2 - Colour Palette

The colours I wanted to use were rich, bold colours. 


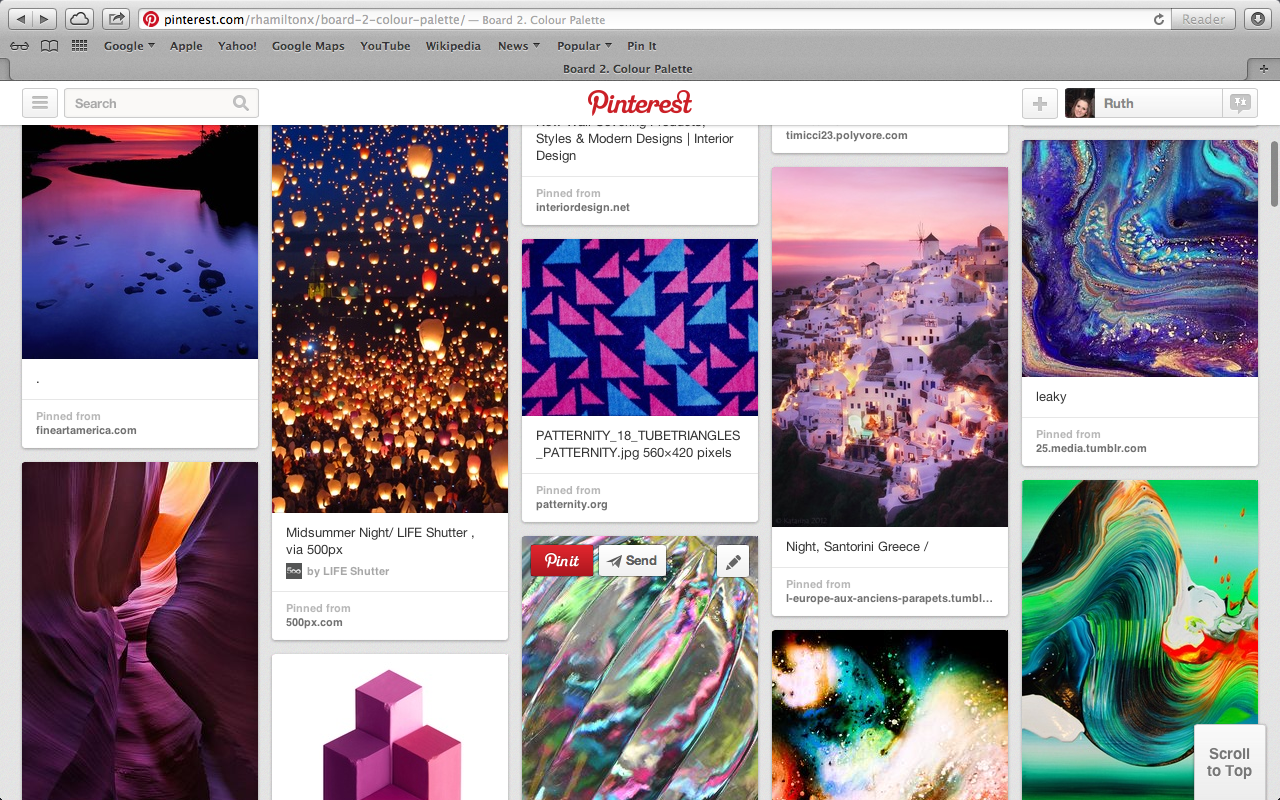
http://pinterest.com/rhamiltonx/board-2-colour-palette/


Board 3 - Inspiration

Although my inspiration was skulls I didn't want to go down a dark route with them so not only did I look at flat prints of them but also more 3D versions and sugar skulls which were often 3D or embroidered/embellished. 


http://pinterest.com/rhamiltonx/board-3-inspiration/


Board 4 - Who/What is it for?

This board was designed for what I could make my prints into and where I would like them to be sold.


http://pinterest.com/rhamiltonx/board-4-whowhat-is-it-for/


Board 5 - Display

This board was for displays I like which I could then take inspiration for to display my own work.


http://pinterest.com/rhamiltonx/board-5-display/


Board 6 - Concluding Board

This was the board I showed for my presentation which includes 2 pins off each of my previous boards, to sum up what my personal project will be. 


http://pinterest.com/rhamiltonx/board-6-concluding-board-presentation/


Monday 29 July 2013

Indigo Dyeing

This was a one week project based on indigo dyeing which produces a lovely blue colour. Depending on how much you mix up with water and how many times you submerge the material in the dye depends on what colour the fabric will turn out. Indigo dyeing works better on natural material rather than man made as as it clings to the fibres better, however although most of the dyeing I did was with natural fabrics I did also try a couple of man made fabrics to see how well it would work. Although they did dye, the colour was not as strong as it should have been (was in the darkest dye available and was submerged many times), compared to many of the natural samples I also did along side it. Using various techniques to tie the material up, I managed to create many effects. 

Along side indigo dyeing, we were also taught batik. This is where hot wax is used to resist the dye. Although I had done this before it has been quite a while so it was good to revisit it again.
Here is my dye work pinned up in my studio space:


Tying up some material ready for dyeing 

A few of my samples in the bin dyeing

Some of my work dyed in various ways, depending on how it was tied up. The 3rd and 4th one  at the top from the left are both batik.

More examples. The 2nd one down on the left is batik.

The three pieces on the left going downwards are all batik pieces.


This was created on a machine, in which you tie it on then submerge the whole pole it was tied on. This machine is quite good for doing large pieces of material. 


Tuesday 9 July 2013

Weave Technical Folder

As with knitting , weaving was also based on grids/ structures and colours wash. On the loom we learnt 10 techniques. We also learnt rigid heddle and tapestry, both of which we had to do our own research for in order to find out what you could do to vary it. 
Although many years ago I had used a loom and done some tapestry work, I think I found this the hardest out of all the areas we have practiced as I found them both quite fiddely always having to feed the threads through and although some of the loom work looked quite good I felt it wasn't as good as the other areas I had done. It was still good however, to revisit weaving having not done it for so long. 
Here are some of my samples from the loom:

Hopsack


2/2 twill


1/3 twill


Close up of the image above


3/1 twill (and reversed for zig zag)


4/4 twill


Close up of the 4/4 twill


4/4 twill again but this time using different types of yarn to add texture. Using the thicker yarn also lengthens the pattern created.


Close up


Extra weft (vertical line) 


Extra weft (spot on point threading)


Close up


Here is one of my tapestry samples:

Weaving on a tapestry frame trying out various techniques, such as forming splits. 


Here is one of my ridgid heddle samples:

Using different types of yarn to create different textures.


Here are my final creative samples for my weaving technical file:

For this sample I used a variety of techniques that I had been taught previously. At the top there is the 'Extra weft (spot on point threading)'. I also used the 'Extra weft (vertical line) as well as the '4/4 twill' and a couple of other techniques too. 


Close up from the top section - Extra weft (spot on point threading)


Close up of a few of the other sections where i used different types of yarn as well a some ribbon.


I found this pattern to try in a book. The technique comes under large, textured honeycomb and I wanted to try it as it gives more of a 3-dimensional shape.


Close up of the middle section from the textured honeycomb piece I tried out.


For my last creative sample on the loom I tried another technique from a book which was under the section 'Ombre Pointed Twills'. This type of technique creates not only textural but an optical effect as well. Using differernt types of yarns meant that the pattern was often lengthened.


Close up of the top section


Close up of one of the sections. I particularly like the colours in this area as well as the texture created.